Why Do Oven Mitts Get Hot? 7 Reasons Your Hands Feel Heat
Oven mitts are supposed to protect your hands from heat, but sometimes they leave you feeling painfully warm. You’re not alone if you’ve wondered why even the best mitts can let heat slip through. This post breaks down seven reasons your hands get hot while wearing oven mitts and shares cooking tips to help you stay safer in the kitchen. For more insights, check out what every home cook needs to know.

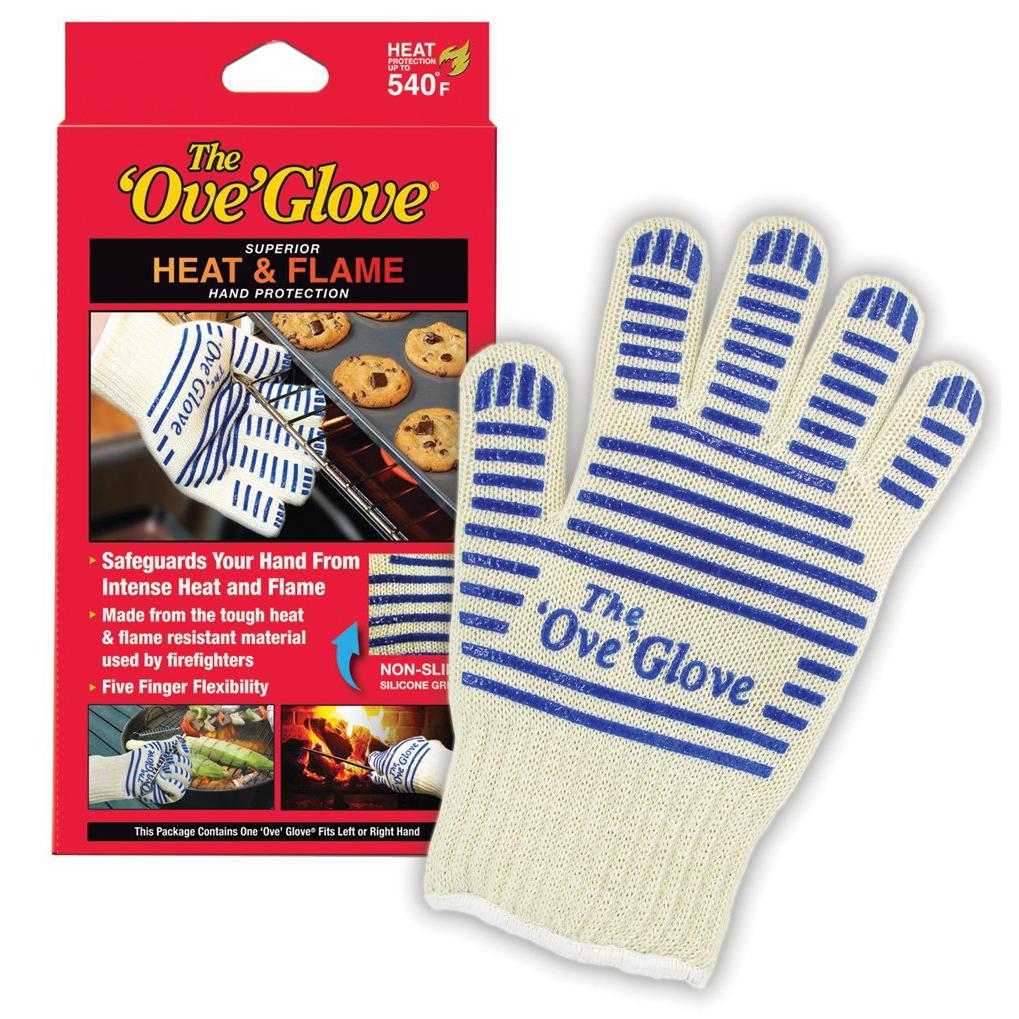
Get FREE shipping on the Ove Glove today!
Understanding Heat Transfer
To truly understand why your oven mitts might be failing you, it’s essential to grasp the basics of heat transfer. This concept plays a vital role in how well your mitts protect your hands.
What Causes Heat Transfer?
Heat transfer happens when warmth moves from a hot surface to a cooler one. When you grab a hot pan, the heat travels quickly to your mitts. If the material isn’t up to the task, that heat reaches your skin. Most people assume that all oven mitts block heat equally well, but that’s not always true. Different materials offer varying levels of protection.
Role of Material in Heat Resistance
The material of your mitts can significantly affect their effectiveness. Silicone is popular due to its heat resistance and flexibility. Cotton is another common choice, though it might not block heat as effectively. When choosing mitts, consider what you’ll be using them for. For instance, silicone works well for baking or roasting because it can withstand higher temperatures.
Impact of Insulation Properties
The thickness and quality of insulation in your mitts matter. Better insulation creates a barrier that slows heat transfer. Some mitts have extra padding or layers for added protection. If your mitts are too thin, they might not shield your hands adequately. Investing in thicker mitts helps ensure safer cooking experiences, especially when handling high-heat items.
Common Mistakes When Using Oven Mitts
Even with the right mitts, avoid common errors that can lead to heat exposure. These mistakes can make a big difference in your kitchen safety.
Insufficient Coverage Issues
One of the most frequent errors is using mitts that don’t cover enough of your hands. If your mitts are too short, your wrists might be exposed to heat. Consider investing in mitts that extend past your wrists. This added length provides more comprehensive protection, reducing the chance of burns or discomfort.
Improper Use of Cooking Gloves
Cooking gloves are handy but can be misused. They might not fit snugly, leading to awkward handling of hot items. Ensure your gloves fit well for better grip and control. This not only keeps your hands safer but also makes cooking more enjoyable and efficient.
Overlooking Wear and Tear
Old or damaged mitts can’t protect you well. Regularly check your mitts for signs of wear or holes. Replace them if they seem worn out. Keeping your mitts in good condition is a simple way to maintain kitchen safety and avoid unnecessary risks.
Choosing the Right Oven Mitts
Selecting the right mitts can make all the difference. With the right pair, you can improve your heat resistance and cooking safety.
Evaluating Material Choices
When picking oven mitts, consider the material. Silicone and Kevlar are popular for their durability. They withstand intense heat better than cotton. If your cooking involves high temperatures, opt for these materials to ensure maximum safety.
Assessing Insulation Thickness
A mitt’s thickness greatly affects its ability to block heat. Thicker mitts offer better protection but may reduce dexterity. Balance protection and flexibility by choosing mitts with multiple layers. This blend of protection and usability helps ensure a safer cooking environment.
Tips for Optimal Kitchen Safety
For the best kitchen safety, combine good mitts with smart habits. Always use both hands when lifting heavy or hot items. Keep your mitts clean and dry for better grip. These practices will help keep your kitchen experience pleasant and safe.
Practical Cooking Tips for Safe Use
Finally, let’s discuss practical cooking tips. These strategies will help you use your mitts effectively and avoid unnecessary heat exposure.
Ensuring Proper Fit and Grip
Mitts should fit comfortably without being too tight. A proper fit ensures better grip and maneuverability. This not only enhances safety but also makes cooking tasks easier and more enjoyable, reducing the risk of accidental burns.
Timing and Duration of Contact
Limit the time your mitts are in contact with hot items. Even the best mitts can only protect for so long. If you need to hold something hot for an extended period, consider using a kitchen cloth for added insulation. This simple step can make a big difference.
Maintaining Your Oven Mitts
Keep your mitts in top shape by washing them regularly. This prevents grease and grime build-up, maintaining their effectiveness. A clean mitt not only looks better but also works better, ensuring that you can handle heat safely.
Frequently Asked Questions
Why do oven mitts still let heat through?
Oven mitts might still let heat through if they’re made from low-quality materials or if they’re too thin. Additionally, wear and tear can compromise their protective abilities.
What material is best for oven mitts?
Silicone and Kevlar are some of the best materials for oven mitts due to their high heat resistance and durability.
How often should I replace my oven mitts?
You should replace your oven mitts when they show signs of wear, such as holes or thinning. Regular checks can help ensure they’re in good condition.
Are longer mitts better for protection?
Yes, longer mitts provide better protection as they cover more of your arm, reducing the risk of burns from accidental contact with hot surfaces.
Can I wash my oven mitts?
Yes, most oven mitts are washable. Keeping them clean maintains their grip and heat resistance, contributing to overall kitchen safety.


All major credit cards accepted
Free Shipping – Order – Track Order – Contact Us
The Ove Glove’s Textured Grip Advantage
Master Kitchen Safety: The Ove Glove's Textured Grip Advantage Mastering kitchen safety is essential for any home cook, and the Ove Glove offers a unique solution with its textured grip advantage. This essential cooking accessory is designed to enhance your confidence when handling hot dishes, ensuring you never drop a [...]
How the Ove Glove is Changing the Game in Heat Protection
Non-Bulky Kitchen Tools: How the Ove Glove is Changing the Game in Heat Protection The kitchen is the heart of the home, and for many, it's a place where practicality meets creativity. For home cooks and kitchen enthusiasts seeking non-bulky kitchen tools, the Ove Glove offers a lightweight solution that [...]
How the Ove Glove Transforms Kitchen Safety for Home Cooks and Aspiring Chefs
From the Pros: How the Ove Glove Transforms Kitchen Safety for Home Cooks and Aspiring Chefs When it comes to kitchen safety, the Ove Glove is a game-changer that has captured the hearts of both seasoned chefs and budding home cooks alike. This heat-resistant glove isn't just another kitchen accessory; [...]
Why the Ove Glove is Your Ultimate Kitchen Companion
Injury-Free Cooking Starts Here: Why the Ove Glove is Your Ultimate Kitchen Companion In the bustling world of home cooking, safety is paramount, and the Ove Glove is here to make your kitchen a safer space. Many home cooks experience the frustration of burns and injuries, but with the right [...]
How the Ove Glove Can Do More Than You Think
From Crafts to Cars: How the Ove Glove Can Do More Than You Think When you think of the Ove Glove, you probably picture it as a trusty kitchen sidekick, always ready to save the day from sizzling pots and searing baking sheets. But this heat-resistant marvel has more tricks [...]
Ultimate Guide to Safe Grilling with the Ove Glove
Flame-Resistant Gloves: The Ultimate Guide to Safe Grilling with the Ove Glove Grilling is an art form that fuels both passion and creativity, and every grill master knows the importance of having the right tools for the job. Flame-resistant gloves, like the Ove Glove, are essential for anyone who loves [...]