Mastering Bread Baking: Your Guide to Safe and Delicious Results at 450 Degrees
Baking bread at 450 degrees brings out the perfect crust and crumb, but it also demands careful attention to safety. If you’ve ever burned yourself or worried about handling hot trays without the right tools, you’re not alone. This guide shares essential bread safety tips and bread baking techniques that help you keep your hands protected with a reliable oven glove while achieving delicious results every time. Let’s get you baking bread safely and confidently. For more tips, check out this helpful resource.

Order the Ove Glove today and get FREE shipping!
Introduction to Bread Baking
Bread baking is a rewarding experience that can fill your home with warmth and delicious aromas. To kick off your baking journey, it’s crucial to grasp the essentials of this art.
Understanding Baking at 450 Degrees
Baking bread at 450 degrees is where the magic happens. This temperature brings out a crust that is both crunchy and flavorful. High heat also ensures a well-cooked interior. But, handling such high heat requires caution to prevent burns. Did you know that a reliable oven glove can make all the difference? The right glove protects your hands and lets you focus on creating that perfect loaf. Most people think that baking at high temperatures is daunting, but with the right tips, it becomes a breeze. Explore more on The Fresh Loaf for community insights.
Essential Bread Baking Techniques
Let’s talk technique. Knowing how to handle dough is key. Kneading helps develop gluten, which gives bread its structure. Aim to knead until the dough feels smooth and elastic. Proofing is equally important: let your dough rise in a warm spot until it’s doubled in size. Here’s the key insight: practice makes perfect. Experiment with different proofing times to see how it affects your bread’s texture and flavor. For a deeper dive into bread baking secrets, check out this bread baking guide.
Preparing for Success
Preparation is half the battle in baking. By organizing your space and ingredients, you set yourself up for success.
Gathering Your Baking Tools
Start with the basics: mixing bowls, a dough scraper, measuring cups, and a good oven glove. Each tool has its purpose and makes the process smoother. For instance, a dough scraper helps you handle sticky dough more easily. Using the right tools not only improves results but also boosts your confidence as a baker. Consider joining a baking community to learn how others use their tools effectively.
Choosing the Right Ingredients
Your ingredients set the foundation for great bread. Choose high-quality flour, fresh yeast, and pure water. Salt adds flavor, but too much can inhibit yeast activity. Here’s a tip: always measure your ingredients accurately to ensure consistency. Some bakers swear by weighing ingredients for precision. Once you have the right ingredients, you’re ready to start mixing.
Safety First in Bread Baking
Safety is a non-negotiable aspect of baking. By following these guidelines, you can bake delicious bread without worry.
Bread Safety Tips and Precautions
When baking at high temperatures, burn risks increase. Always preheat your oven and position racks before it gets too hot. Use an oven glove to handle trays safely. Keep the kitchen area clutter-free to avoid accidents. Did you know that placing a damp towel nearby can help cool down hot surfaces quickly? This small step can prevent burns and mishaps.
The Role of an Oven Glove
An oven glove is your best friend in the kitchen. It’s not just about comfort; it’s about safety. A good glove offers heat resistance and grip, making it easier to handle hot items. Most people overlook this, but investing in a quality glove can save you from painful burns. Look for gloves with high heat tolerance and flexible materials for the best protection.
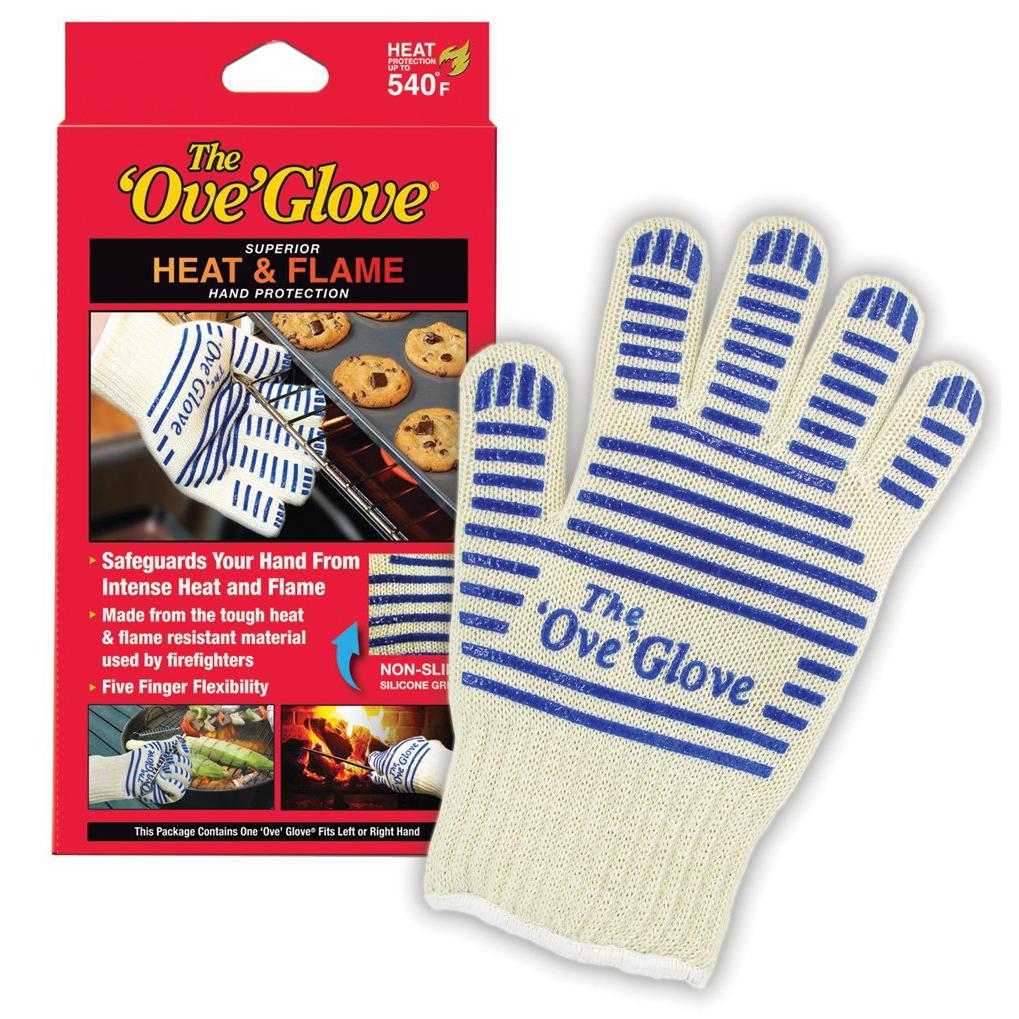
Protect your hands while cooking with the Ove Glove
Perfecting the Baking Process
With tools and ingredients ready, it’s time to bake your masterpiece. Let’s ensure your bread turns out just right.
How to Bake Bread Safely
Start by placing your dough in the oven with care. Keep your glove on when adjusting trays. Set a timer to avoid overbaking. It’s tempting to peek, but each time you open the oven, heat escapes, affecting your bread. The longer you wait to master these steps, the more challenging baking becomes. Here’s the solution: practice makes confidence.
Monitoring and Adjusting Temperatures
Temperature control is crucial for perfect bread. Use an oven thermometer to verify the heat. Adjust your oven settings if needed to maintain the right temperature. If you notice uneven baking, consider rotating your bread halfway through. This simple adjustment can ensure an even crust and crumb.
Troubleshooting and Tips
Even seasoned bakers face challenges. Here’s how to tackle common issues and refine your skills.
Common Bread Baking Mistakes
Overproofing, under-kneading, or forgetting salt can ruin a loaf. Always keep an eye on your dough’s rise and texture. If your bread is too dense, it might need more kneading. Light and airy bread often result from proper gluten development. Remember, mistakes are learning opportunities, not failures.
Enhancing Flavor and Texture
Flavorful bread elevates any meal. Experiment with different flours or add seeds for texture. A splash of olive oil can create a softer crumb. For a tangy twist, try fermenting your dough longer. These small tweaks can transform a basic loaf into something extraordinary. Check out this inspiring video for creative ideas.
By keeping safety at the forefront and embracing these techniques, you’re set to bake bread that delights and inspires. As you practice, remember: each loaf brings you closer to mastery. Enjoy the journey and happy baking!


All major credit cards accepted
Free Shipping – Order – Track Order – Contact Us
Can Oven Mitts Get Wet? Why Moisture Makes Heat Protection Worse
Can Oven Mitts Get Wet? Why Moisture Makes Heat Protection Worse Using wet oven mitts is more dangerous than most people realize. Moisture can sneak into the fabric and cut down its heat protection, putting your hands at risk. If you care about kitchen safety, understanding the moisture impact on [...]
Best Oven Gloves for Air Fryers
Best Oven Gloves for Air Fryers Handling hot air fryer baskets without the right gloves can turn meal prep into a risky task. Many oven gloves fall short when it comes to heat resistance, grip, or flexibility, making it harder to cook safely and comfortably. This guide highlights the best [...]
Best Oven Mitts for People With Small Hands and Large Hands
Best Oven Mitts for People With Small Hands and Large Hands Most oven mitts come in one size fits all, but that often means they fit no one well. If you have small hands, bulky mitts can feel clumsy and unsafe. Large hands? You might struggle to get a proper [...]
Are Oven Mitts or Gloves Better for Grip?
Are Oven Mitts or Gloves Better for Grip? Grabbing hot cookware without a solid grip can turn your kitchen into a danger zone. Oven mitts and gloves both promise protection, but which one really holds tight when it matters most? Let’s break down how texture, flexibility, and coverage affect oven [...]
Oven Mitt vs Oven Glove: What’s the Difference?
Oven Mitt vs Oven Glove: What's the Difference? Most home cooks treat oven mitts and oven gloves like the same thing. The truth is, each offers different levels of heat resistance, coverage, and control. Knowing these differences can keep you safer and more comfortable in the kitchen. Let’s break down [...]
Ove Glove Temperature Rating: How Much Heat Can It Handle?
Ove Glove Temperature Rating: How Much Heat Can It Handle? Most kitchen gloves claim to protect you from heat, but how much can the Ove Glove really handle? When you’re grabbing hot pans or pulling trays from the oven, knowing the exact temperature ratings of gloves matters. This post breaks [...]