How to Safely Remove a Hot Baking Dish From the Oven
Burns from hot baking dishes happen more often than you might think, and a split second of carelessness can ruin your day. You want to enjoy your delicious meals without risking painful accidents or messy spills. Learning how to safely remove a hot baking dish from the oven is key to protecting your hands and keeping your kitchen accident-free. This guide shares simple kitchen safety tips and oven safety techniques that make lifting hot dishes safer and easier every time. Learn more here.

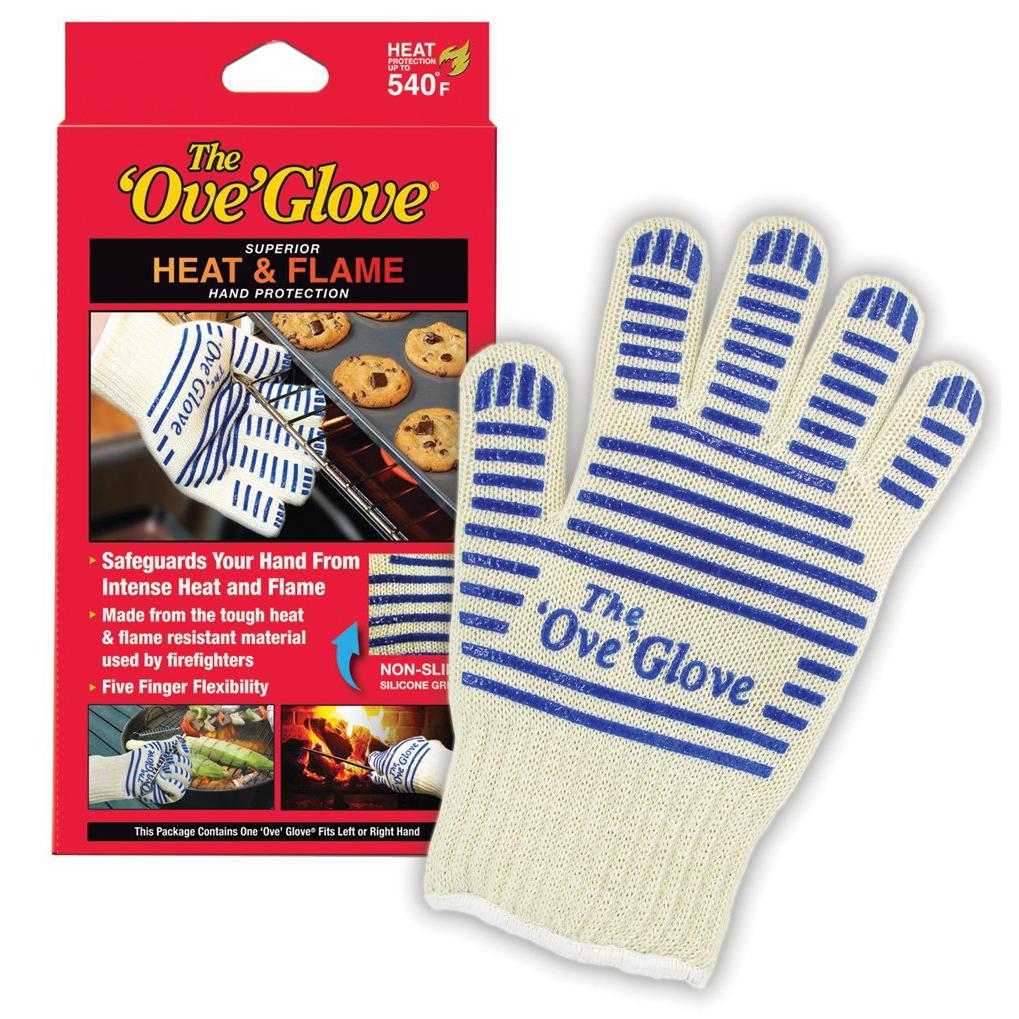
Get FREE shipping on the Ove Glove today!
Essential Oven Safety Techniques
Let’s begin by focusing on how crucial it is to have the right tools and techniques when dealing with hot baking dishes. Taking these steps will protect you from burns and make your kitchen experience safer.
Importance of Heat Resistant Mitts
Using heat resistant oven mitts is your first line of defense against burns. These mitts are designed to withstand high temperatures and provide a secure grip. It’s vital to choose mitts that offer both heat protection and dexterity. Avoid mitts that are too bulky, as they can make handling dishes difficult. Instead, opt for ones that fit snugly and allow you to move your fingers easily.
Make sure your mitts are dry before use. Wet mitts can transfer heat more quickly, increasing the risk of burns. Always inspect your mitts for wear and tear. If they look worn, it’s time to replace them. For more information, check out these best oven gloves for handling cast iron pans.
Best Practices for Removing Hot Dishes
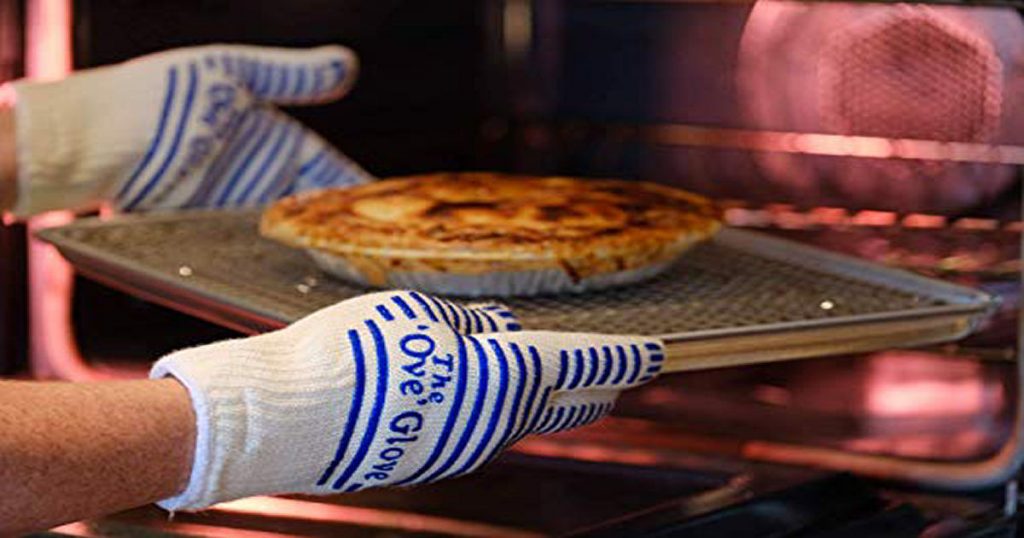
Removing hot dishes carefully can prevent accidents. Always plan your movements before reaching into the oven. Stand to the side and use one hand to open the oven door, keeping your face away from the heat. With your other hand, use your heat resistant oven mitts to grip the dish securely.
When lifting, ensure you have a firm hold on the dish. If it feels unstable, adjust your grip before moving it. It’s safer to take a few extra seconds to secure the dish than to rush and risk dropping it. This simple act can save you from potential spills and burns.
Prevent Burns in Kitchen
Preventing burns requires awareness and proper technique. Always be cautious of hot surfaces and open flames. Keep a safe distance when opening the oven, and never leave oven mitts on or near the stove, as they can catch fire.
Educate others in your household about these safety practices to ensure everyone is on the same page. For additional safety measures, read these essential tips for preventing steam burns.
Keep your hands safe while cooking! Order today!
Preparing Your Workspace
Creating a safe and efficient workspace is key to handling hot dishes with ease. Proper organization and setup can prevent accidents and streamline your cooking process.
Clearing and Organizing Your Space
Before starting, clear your workspace of any clutter. Remove items that might get in the way or cause spills. Organize your tools so that everything you need is within reach. This setup minimizes the need to move around unnecessarily, which can be dangerous with hot dishes in hand.
Having a tidy space also helps you focus on the task at hand. It reduces stress and makes the cooking process more enjoyable. The longer you wait to organize, the more likely you are to encounter mishaps.
Positioning for Safe Lifting
Positioning yourself correctly can drastically improve your safety when removing dishes from the oven. Stand with your feet shoulder-width apart for stability. Bend your knees slightly and use your legs, not your back, to lift. This posture reduces strain and gives you more control.
Keep your arms close to your body when lifting to maintain balance. If you’re unsure about your positioning, practice lifting an empty dish first. This will help you get comfortable with the motion and build confidence.
Kitchen Safety Tips for Setup
Ensure your kitchen setup is conducive to safe cooking. Keep pathways clear and well-lit. Ensure your oven is in good working condition and the door opens smoothly. Regular maintenance can prevent unexpected issues, such as door malfunctions, that could lead to accidents.
For guidance on choosing the right oven mitts, consider exploring the best oven gloves for pizza ovens and pizza stones.
Safely Removing the Baking Dish
Once your workspace is ready, it’s time to safely remove your hot dish. Confidence and technique are crucial here.
Lifting Hot Dishes with Confidence
Confidence comes from preparation. Trust in your oven safety techniques and the equipment you’re using. Approach the oven with caution and focus. Grip the dish with both hands, ensuring your thumbs are positioned on one side and fingers on the other. This grip provides a secure hold.
Take a deep breath before lifting; calmness reduces the likelihood of mistakes. Remember, the goal is to move slowly and deliberately, not rush through the process.
Stabilizing and Supporting Techniques
Stabilizing the dish during removal is crucial. Use your body as an anchor if needed. Hugging the dish close to your body can provide extra support. If the dish feels too heavy, ask someone to assist you.
Supportive techniques, like using a counter as a resting point, can also help. Once the dish is out of the oven, place it on a sturdy surface that can withstand heat. Avoid placing hot dishes on plastic or other sensitive materials.
Common Kitchen Mishaps to Avoid
Many kitchen accidents occur due to overlooked details. Avoid wearing loose clothing that can catch fire. Never use dish towels as oven mitts; they don’t provide adequate protection.
Be wary of hot surfaces and always assume they’re still hot, even after the oven is off. A quick touch can result in unexpected burns. Knowing these potential pitfalls helps you stay one step ahead.
Post-Removal Safety Measures
Once the dish is safely out, the process isn’t over. Post-removal care ensures continued safety and prepares you for future cooking tasks.
Cooling and Transferring the Dish
Let the dish cool on a heat-resistant surface before transferring it. Rushing this step can lead to spills or burns. If you need to move the dish further, ensure your path is clear and the destination is ready to receive the hot item.
Cooling time varies, so be patient. Once cooled, use cooking safety advice to guide your next steps, ensuring the dish is handled with care.
Inspecting Mitts and Protective Gear
After use, inspect your mitts for any damage. Look for tears or wear that could compromise their effectiveness. Proper care extends their lifespan and ensures they’re ready for future use.
Store your mitts in a dry, accessible location. Avoid exposing them to direct sunlight or moisture, which can degrade the material. If in doubt, consider investing in new mitts to maintain optimal protection.
Cooking Safety Advice for Next Steps
With the dish safely removed and cooling, reflect on the process. Identify areas for improvement and reinforce successful techniques. Share your experiences with others to promote a culture of safety.
For continuous learning, explore further oven safety techniques and tips to enhance your skills in the kitchen. Remember, safe cooking is a journey, and each step you take strengthens your abilities.
Frequently Asked Questions
1. How can I ensure my oven mitts provide adequate protection?
Choose mitts made from high-quality, heat-resistant materials. Regularly inspect them for wear and tear, and replace them when necessary.
2. What should I do if I accidentally drop a hot dish?
Remain calm and let it cool before attempting to clean up. Use proper safety gear to handle any broken pieces and avoid touching hot surfaces.
3. How often should I check my oven’s condition?
Regular maintenance every six months is ideal to ensure your oven functions properly and safely. This includes checking the door, seals, and heating elements.
4. What’s the safest way to transfer a hot dish?
Use heat-resistant surfaces and ensure your path is clear of obstacles. Move slowly and steadily, keeping the dish close to your body to maintain balance.
5. Why is planning my movements important when removing hot dishes?
Planning helps prevent accidents by ensuring you have a clear path and know precisely where to place the dish once removed.


All major credit cards accepted
Free Shipping – Order – Track Order – Contact Us
Witch’s Cauldron Halloween Cake Pops Recipe
Witch's Cauldron Halloween Cake Pops Recipe Our Witchs Cauldron Halloween Cake Pops Recipe is to die for! These witch’s cauldron cake pops make for tasty Halloween dessert treats – made with Betty Crocker Super Moist dark chocolate cake mix and Rich & Creamy frosting. Ingredients 1 box Betty Crocker Super [...]
Halloween Witch Cake Pops Recipe
Halloween Witch Cake Pops Recipe Our Halloween Witch Cake Pops Recipe is to die for! Get creative with these cute witch cake pops for your Halloween party. The delicious bites of Betty Crocker Super Moist cake mix and Whipped cream cheese frosting are decorated with Bugles, Fruit by the Foot, [...]
Easy Halloween Cake Pops Recipe
Easy Halloween Cake Pops Recipe Our Easy Halloween Cake Pops Recipe is to die for! Add a festive and delicious touch to your Halloween party with this easy cake pop recipe - using Betty Crocker Super Moist butter pecan cake mix and Rich & Creamy frosting. It's a fun dessert [...]
Zucchini Bread Recipes
Zucchini Bread Recipes Check out some of these amazing Zucchini Bread Recipes! Star Zucchini Bread Recipe Zucchini-Feta Bread Recipe Zucchini Bread Muffins Recipe Double-Chocolate Zucchini Bread Recipe Gluten-Free Zucchini Bread Recipe Skinny Zucchini Bread Recipe Ove Glove Oven Mitt Customer Reviews Really protect your hands. Follow directions and don’t [...]
Deviled Egg Recipes
Deviled Egg Recipes Check out some of these amazing Deviled Egg Recipes! Pizza Deviled Eggs Recipe Dijon Deviled Eggs Recipe Ranch Deviled Eggs Recipe Zesty Deviled Eggs Recipe Pesto Deviled Eggs Recipe Classic Deviled Eggs Recipe Deviled Egg Pasta Salad Recipe Ove Glove Oven Mitt Customer Reviews Really protect [...]
Pizza Deviled Eggs Recipe
Pizza Deviled Eggs Recipe Our Pizza Deviled Eggs Recipe is amazing! Deviled eggs are made even more heavenly thanks to Italian cheese blend and mini pepperonis. Ingredients for Pizza Deviled Eggs Recipe 12 hardboiled eggs, peeled 1/4 cup mayonnaise 1/4 cup Italian cheese blend Salt Pepper 1/4 cup mini pepperoni [...]